Overview
When projects are assessed, the assessment lets the audience know how well a project is doing in meeting its targeted completion and why the target may not be met. The Manager Assessment provides information on project status and the Assessment Notes provide additional details. These instructions show you how to assess your project in Planview.
Note:
- You must create a work portfolio before generating a status report.
- The Assessment Status is updated in the portfolio view while the Assessment Notes are updated in the Work and Resource Management drill-down for the specific project.
Navigation: Work > Work Portfolios > (select work portfolio) > Portfolio View
The first time you assess your project, you need to check your column settings. The default column set is Schedule Entry – Corporate. If you use a custom column set, you will need to add the Manager Assessment field, which is required to assess projects.
Assessment Status
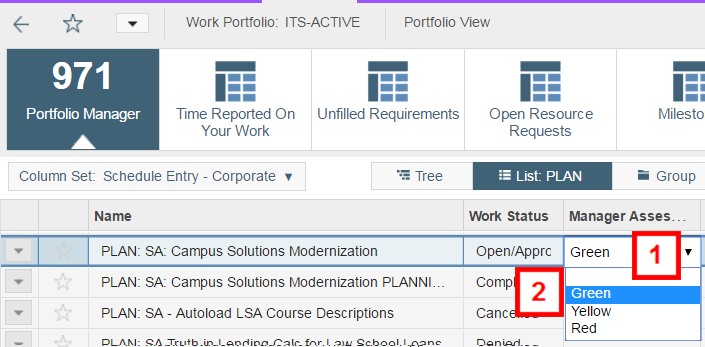
Each week (or other identified reporting period), you need to update the Manager Assessment column to the appropriate color (GREEN, YELLOW, or RED) for this period. See the ITS Project Status Report Legend and Definitions for details about each color.
- Double-click or press Enter in the Manager Assessment column.
- Select the appropriate color from the drop-down menu.
Assessment Notes
- Select Work and Resource Management from the drop-down menu to the left of the project.
- Select Task Information from the drow-down menu to the left of the PLAN row.
Note: You can keep the Task Information showing by clicking
 pop-in.
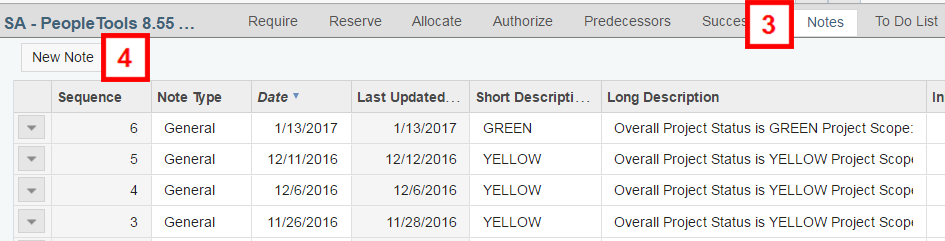
 - Click the Notes tab.
- Click New Note and enter the fields in the new row on table.
Tip: Type your notes in another program, such as Google, paste them into this table.
- Verify that the note type is General.
- Double-click and type the assessed status color (GREEN, YELLOW, RED) in the Short Description field.
- Click OK after entering the status summary in the Long Description field.