Overview
The university invests significant funds into ITS. Accordingly, it is important for ITS to demonstrate to the university what value it is providing in return for its investment. The information gathered from the project closure is used to create an annual accomplishments report submited to the university's Chief Financial Officer. Information is often included in the CFO’s annual financial reports for the university. In addition, cost savings information is submitted to the Provost’s office for inclusion in the Provost’s annual cost containment report. Therefore, it is important that we follow the project closure process.
Tasks to Close a Project
In Planview
Ensure that all project team members have entered time in Planview.
All Milestones are marked Completed and children tasks are marked Completed.
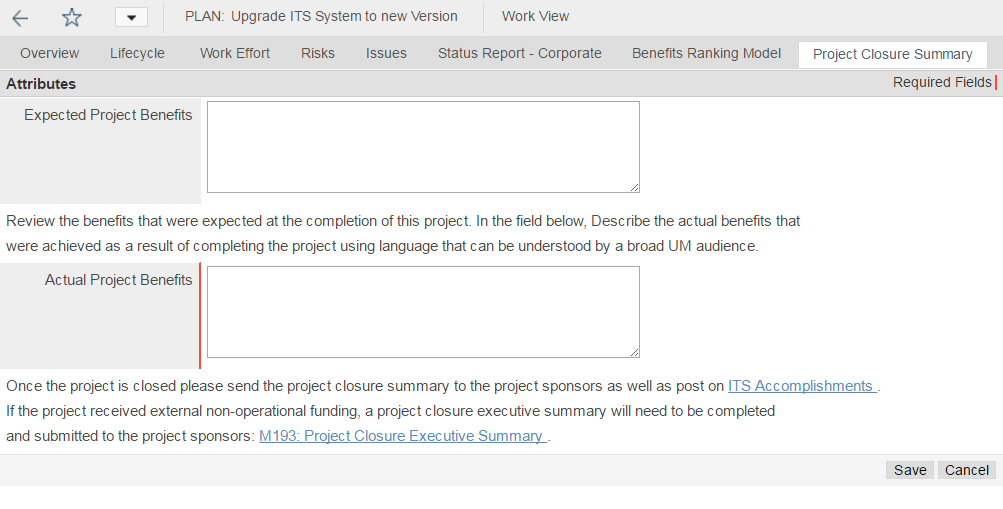
Complete the Actual Project Benefits field.
Note
- This creates a lifecycle and takes the Project Manager to the Project Closure Summary Tab.
- If your project was dispatched from a request before 1/10/16, navigate to Work View and click the Project Closure Summary tab.
Update the Project Status in Planview to complete after the project team has made their last timesheet entry for the project.
Outside of Planview
Send a final Project Status report to project Stakeholders.
Related ITS Project Methodology
If needed, have a final Project Status Review meeting with the Stakeholders.
Add project accomplishments information
Conduct lessons learned
For Capital Projects, Complete the Project Closure Executive Summary (M193) to report on funding received and non-labor expenses.
Note Share a draft with the Project Director and Steering Committee. The summary is due within 45 calendar days of the project go-live/completion. Store the completed summary in the project documentation repository and email it to PMO Operations.
Celebrate!
Change the Project Status to Completed
Planview is configured to remove all effort on any open requirements, reserves, and allocations when the status is updated to Completed. Time can no longer be charged to the project. Schedule and financial data can no longer be updated. This can be done either from Work and Resource Management or from Portfolio View.
- Search for the project in Work and Resource Management.
- Select a column set that includes the column Work Status.
- At the project level, change the work status to Completed.
Note this status may have restrictions so that it can only be changed as part of a lifecycle. In that case, complete the necessary lifecycle steps.

- The system provides this warning: Setting this work status will remove all assignments and schedule dates. Select OK.
Tip If you need to change the status back to Open/Active for any row, first select the row, then open the Work Detail screen. Select Edit in the Basic section of the screen, and then change the status back to Open/Active.
Note A notification shows up in Planview to complete the Project Closure Summary.