
Overview
This document describes how to use the version of WinSCP available at the Blue Disc site to copy, or transfer, files from one computer to another over the Internet. WinSCP uses sftp (secure file transfer protocol).
Obtaining the Software
Members of the U-M community can download WinSCP, bundled with PuTTY, from the Blue Disc website.
Connecting to IFS and Other U-M Host Computers
ITS provides a number of shortcuts to make it easier for you to open secure file-transfer connections to popular host computers at U-M. (A "host computer" allows other computers to connect to it; it "hosts" connections from other computers). To use the shortcuts:
-
Make sure you have a working Internet connection. If you use a modem, establish a dial-up connection. If you use Ethernet, your connection should already be available.
-
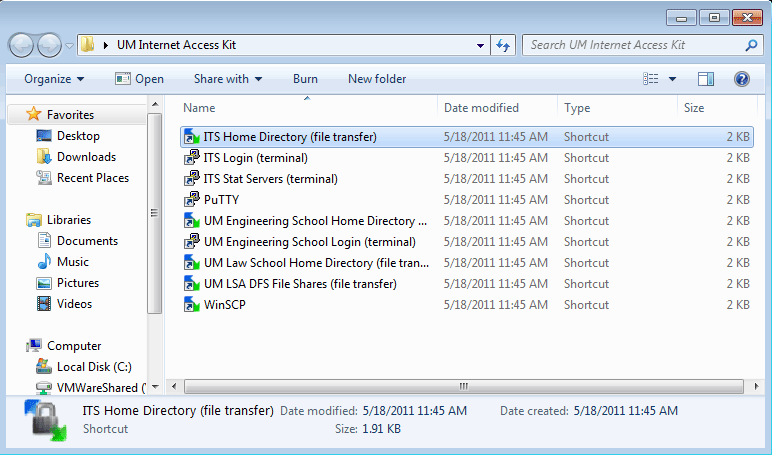
On your desktop, double-click the U-M Internet Access Kit folder.
The shortcuts should be inside this folder. To open a file transfer connection using a shortcut, double-click the shortcut's icon. For example, to connect to your ITS-provided IFS home directory, double-click ITS Home Directory (file transfer). (You might have to single-click some icons to see their full names.)
-
Double-click ITS Home Directory (file transfer) to open a connection you can use to transfer files to and from your home directory. WinSCP opens.
-
When you first attempt to connect to a new server, you will see a warning message window (pictured below). Just click Yes to continue.

-
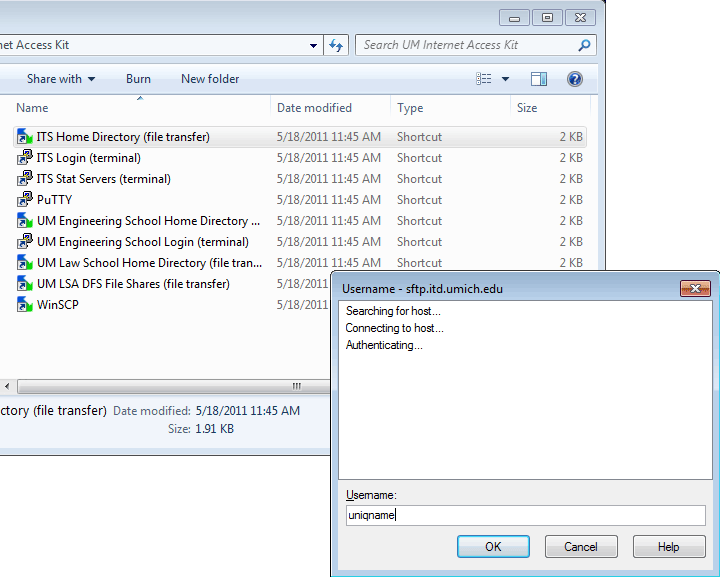
In the Username text box, type your uniqname and click OK to continue.
-
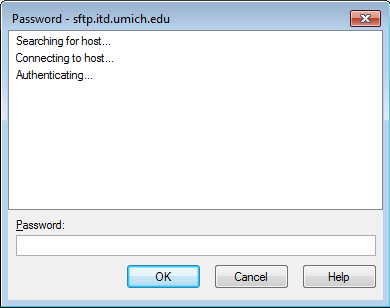
In the Password box, type your password and click OK to continue. For your IFS Home Directory, this password is your Kerberos password.
-
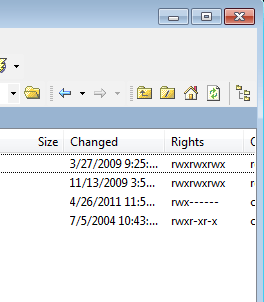
A window showing your local computer on the left and your home directory on the right opens. You are now ready to transfer files.
Transferring Files
Transfer files by dragging their icons from one side of the window to the other. You can copy files from your local computer to your IFS home directory and vice versa.

Deleting a File From Your Home Directory
-
On the home directory (remote) side of your window, click a file to select it.
-
From the Files menu, select Delete.
-
In the Confirm dialog box, click OK. The file is deleted.
Renaming a File in Your Home Directory
-
On the home directory (remote) side of your window, click a file to select it.
-
From the Files menu, select Rename.
-
The file name becomes editable. Make whatever changes to the file name you wish.
-
Click anywhere outside the file name to save the changes.
Closing Your Connection
-
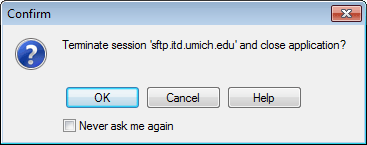
In the top right corner of the WinSCP file transfer window, click the red X (see below).
-
In the Confirm dialog box, click OK (see below). This closes your connection to the host computer, and closes the window.
Connecting to Other Computers for File Transfer
-
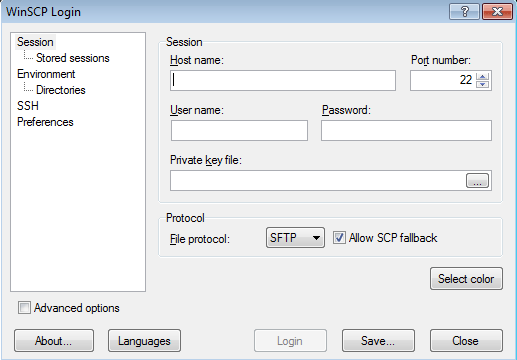
Open WinSCP for file transfer by double-clicking the WinSCP icon (To get to it, open the U-M Internet Access Kit folder.) A WinSCP Login dialog box opens.
-
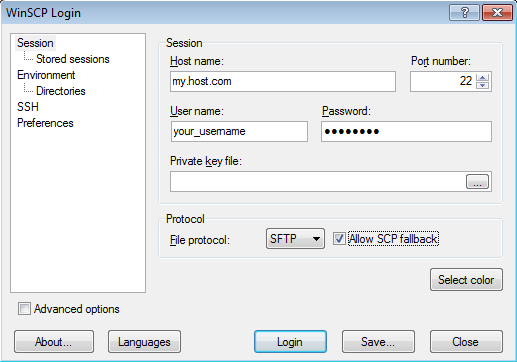
In the WinSCP Login dialog box:
-
In the Host Name box, type the host computer's address.
-
In the User Name box, type your user name for the computer to which you are connecting. (For most U-M computers, use your uniqname.)
-
In the Password box, type your password. (For most U-M computers, use your Kerberos password.)
-
Click Login.
Warning Use your uniqname and UMICH password with WinSCP only when connecting to U-M hosts. Do not use them with non-U-M hosts. Some host computers at the university-such as those run by individual schools, colleges, or departments-may require different user IDs and passwords.
-
-
When you first attempt to connect to a new server, you will see a warning message window (pictured below). Just click Yes to continue.