
Overview
This document provides information on using an iPhone, iPad, and iPod touch with the ITS Exchange Service. Knowledge on using the device is required. The screen shots in this document are from an iPhone 3Gs with iOS4. The process is very similar for each device, but some screens may look slightly different.
Note To set up an iOS device with
For IMAP and Exchange we highly recommend configuring the device using the method presented here. However, you may also configure the device to access an Exchange account through IMAP.
Configuration
-
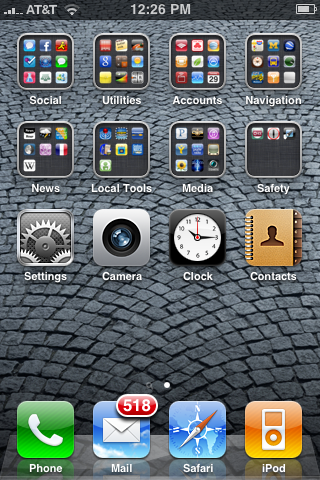
On the Home screen, tap Settings.
-
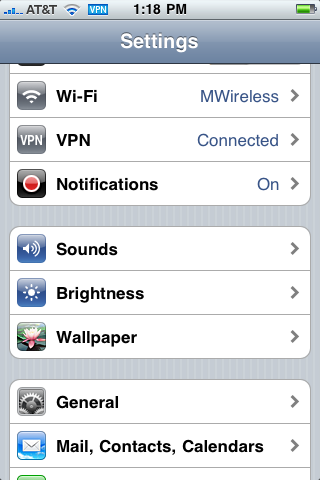
In the Settings window, tap Mail, Contacts, Calendars.
-
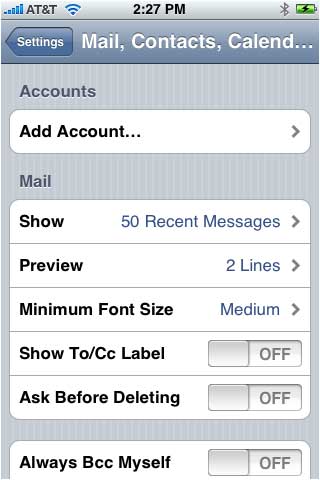
In the Mail, Contacts, Calendars window, tap Add Account.
-
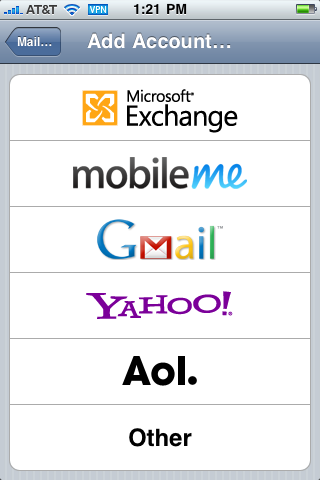
In the Add Account window, tap Microsoft Exchange.
-
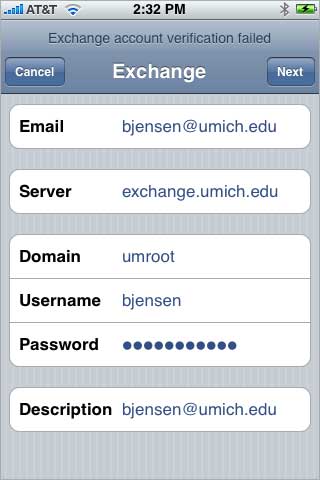
In the Exchange window:
- in the Email box, type your Exchange e-mail address.
- in the Domain box, type umroot.
- in the Username box, type your uniqname.
- in the Password box, type your Exchange password.
- the Description box will automatically have your e-mail address. To change the entry, tap on the box and type your preferred description.
- tap Next.

Note An Unable to Verify Certificate message appears. Tap Accept.
Warning In general, you should never accept an unverified certificate. We are working on resolving this issue with the certificate. -
Verify the summary information, and then tap Next.
-
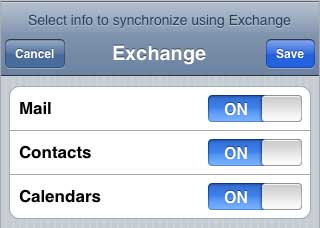
In the Exchange window:
-
tap ON for the items you want to synchronize.
Warning If you have a Contacts list already in your device and do not want it replaced with your Exchange Contacts, do not turn Contacts on. -
tap Save
-
-
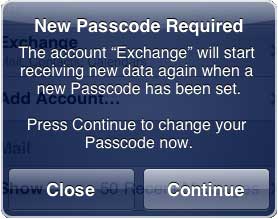
In the New Passcode Required message, tap Continue.
-
In the Set Passcode window:
- create a passcode by typing at least 4 numbers and then tap Next.
- when prompted, re-type your passcode and then tap Next.
