
Overview
Before You Begin
A delimited file must be created and placed somewhere accessible by the sign auto-login account (dsw-autologin-<unit>, where <unit> is the specified unit prefix). This can be any type of delimited file, including Excel, tab-delimited or CSV. It can also be a published Google spreadsheet.
If the sign is to have dynamic images, a folder repository must be created to hold these images. This folder must be accessible to the sign auto-login account (dsw-autologin-<unit>, where <unit> is the specified unit prefix).
Video Demonstration
This video (24:48) is a recording of a webinar on how to manage image files on a digital sign using a Google Sheet.
Step-by-Step
The same information from the video, above, is explained in a numeric step by step format.
Create and Populate the Spreadsheet
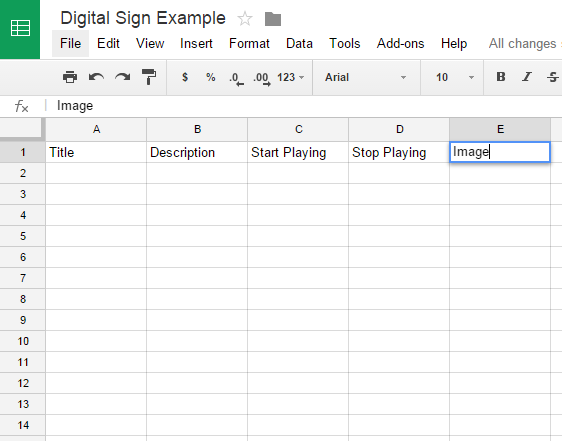
- For each item you wish to display, populate the spreadsheet with information.
Important
- Do not skip lines or leave blank lines
- Do not put any data outside of the pre-existing columns
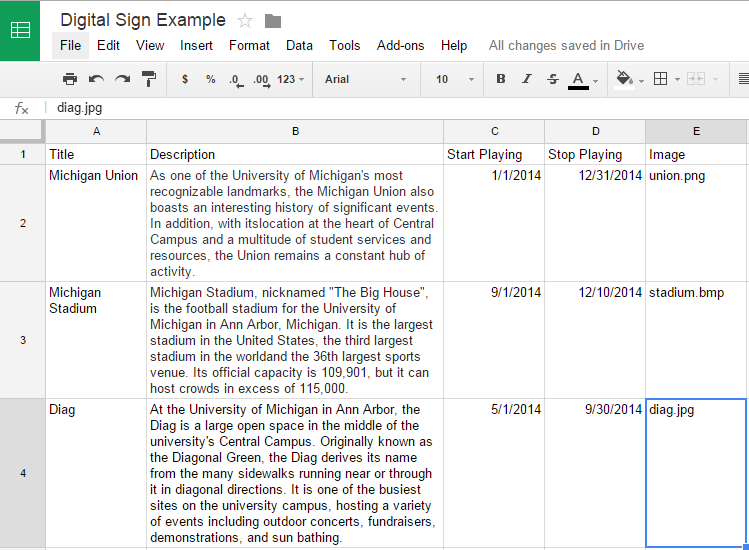
- If you choose to have an image on your sign, be certain the image name in the data file matches the file name exactly.
- If you choose to have an image on your sign, be certain the image name in the source data matches the file name exactly. Copy these image files to the designated network storage location.
- Images should be 96+DPI
- Images should be kept under 500kb

Create a Template and Region
- Log in to Content Manager
Related Digital Signage Software Login
- Create a template with the same resolution as your digital sign (1920x1200 is typical).
- Add one region.
- Place the region at 0,0
- Resize the region to match the size of the template.
- Save the template.
Add Live Data Content to Your Sign
- Move the new content type to the region on your template.
Design the Layout
- In the layout, define layout dimensions to match the region. No title or footer will be needed. Make the row height and width match the region dimensions.

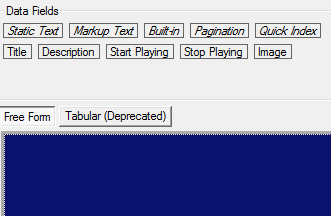
- Pull in the various fields from the data fields above to the layout below.
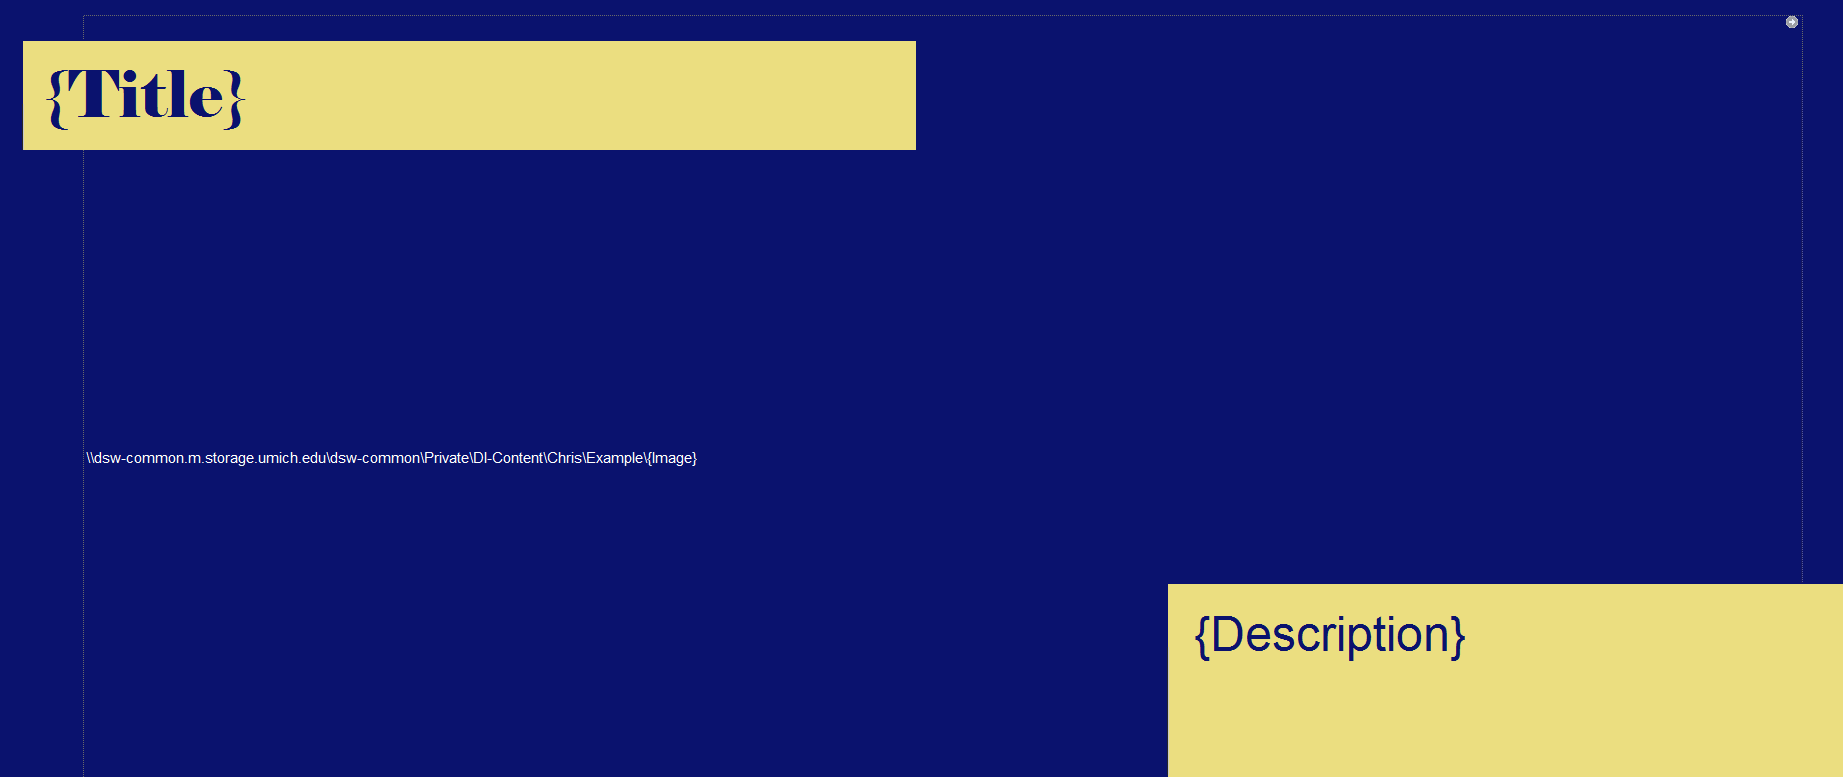
For images
- Drag down a markup text object to the layout.
- Delete the words markup text in the markup text field.
- Enter the path of the image folder created in the preparatory steps above. The path should be in UNC form: \\server\folder(s)\
- Append the name of the image column to the end and enclose it in curly brackets – example:\\server\folder\{image}
- Press Enter to confirm the text.
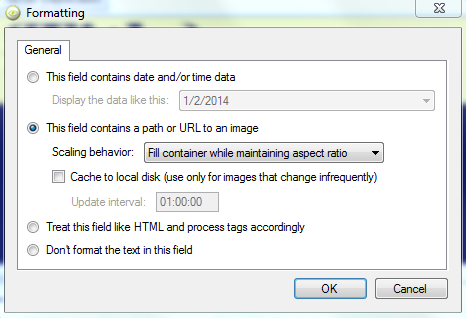
- Right click on the image region and choose formatting.
- Select This field contains a path or URL…
- Select Fill container while maintaining aspect ratio from the drop-down list
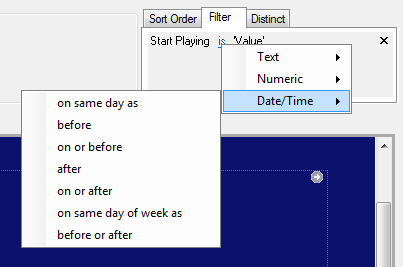
- Pull the start date and end date fields to the filter tab on the right.
- Choose Date/Time from the drop-down list and select the appropriate options.
- Start date should be on or before Now
- End date should be on or after Now
Example

Related Refer to Configure the Layout of Live Data Content