Overview
Digital signs on the ITS Digital Signage service are able to display most web pages, but be cautious when using HTML objects. Not all web pages will display correctly when the size is scaled. Interactive signs with HTML content on them are essentially navigable web pages, so visitor can follow all links on the HTML object and navigate outside of where you wish them to view.
Note Before You Begin:
- You must create at least 1 template and 1 region before you can add content of any type to your player. See Digital Signage: Creating a Template.
- Only HTML (Hypertext Markup Language) files are supported. When using a URL, include the prefix of http://.
- When designing with HTML content, remember to preview the layout in actual size. The Content Manager does not scale HTML when content is shrunk to fit the preview window.
- The sign properties do not always work correctly with all HTML objects. Example: the Magic Bus website features elements to "Remove", but they do not function since the page is dynamically created.
Adding HTML Content
- Log into Content Manager and select your unit's connection.
- Locate your Content Folder
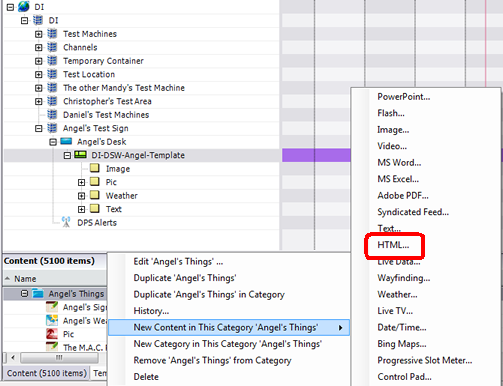
- Right Click on the top content folder and select New Content in This Category
- Select HTML
- Enter a Name for your HTML Content (This should be a detailed name that is easily identifiable. Your content names should always begin with your unit prefix.)
- Enter a Description (optional)
- Adjust the Suggested recurrence as needed.
- Adjust the Duration as needed. (This is how long the HTML will play if you have more than 1 piece of content in in the region where you add the HML content.)
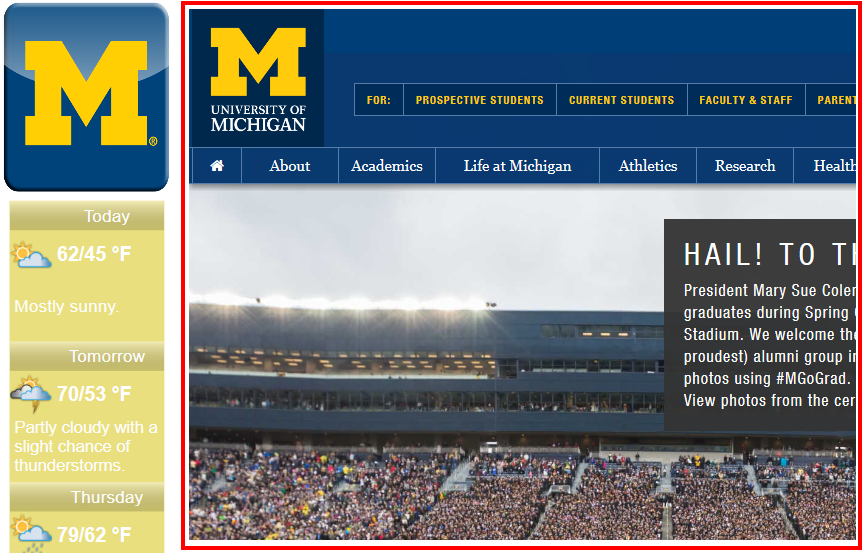
- URL – This is the path to the page that you want to show. You can enter the address manually or if you have an HTML file that want to display instead you can use the path icons next to the URL field. The URL must have http:// or https:// in the prefix. For the Magic Bus use the URL of http://mbus.doublemap.com/map/
- Show scrollbars/Allow popups – These check boxes are usually left blank, but can be changed for html pages that do not fit the region or for pages that may have pop-ups.
- Elements to remove - This field provides a comma separated list of HTML objects on the page that are to be removed. The objects must have an ID in the code. The comma separated list does not need to include the # symbol.

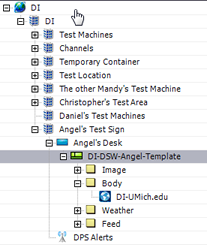
Once your HTML content has been added to the Content section for your department you can click on the newly created HTML Content and while holding down the left click mouse button drag it up to the region on your sign where you want the Content to be displayed.
Example